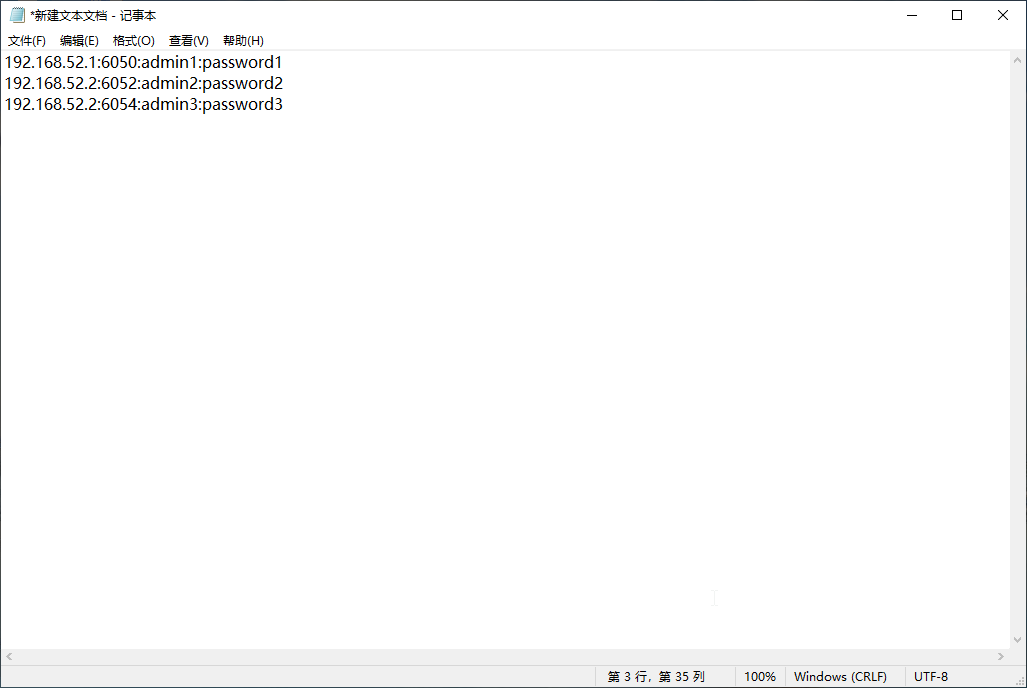
Step 1:Create a TXT file containing the IPs you bought from the provider.
Use the following format for each IP — IP:Port:User name:Password. Example:192.168.52.1:6050:admin1:password1
Each IP is separated by a carriage return.
Step 2:Open the cloud phone, go to the Proxy IP service, and click the “Import New IP” button.

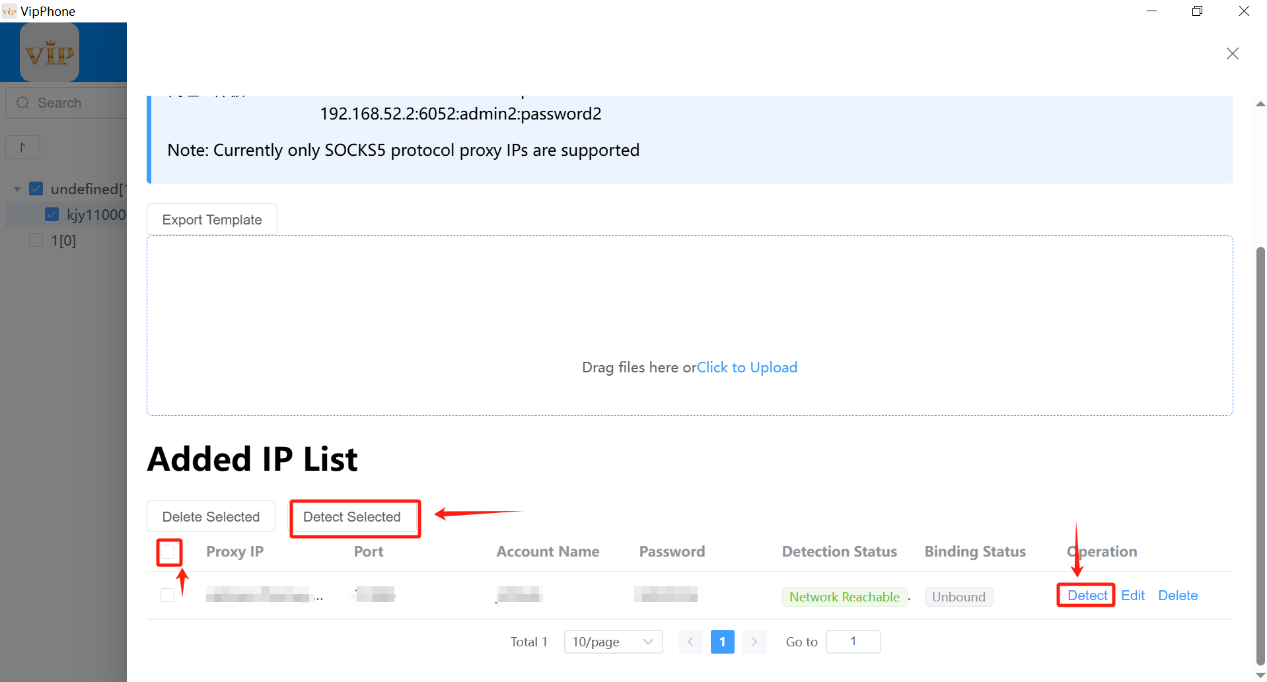
Step 3:Upload your TXT file, confirm the IP network is working, then tick all proxy IPs on this page and click the“Detect Selected” button to run batch tests.
Step 4:Go to the Configure Proxy IP page, choose all devices in the group by ticking their boxes, and click the“Batch Configure Proxy IPs”button.
PS: Limit each batch to 50 devices for smooth operation.

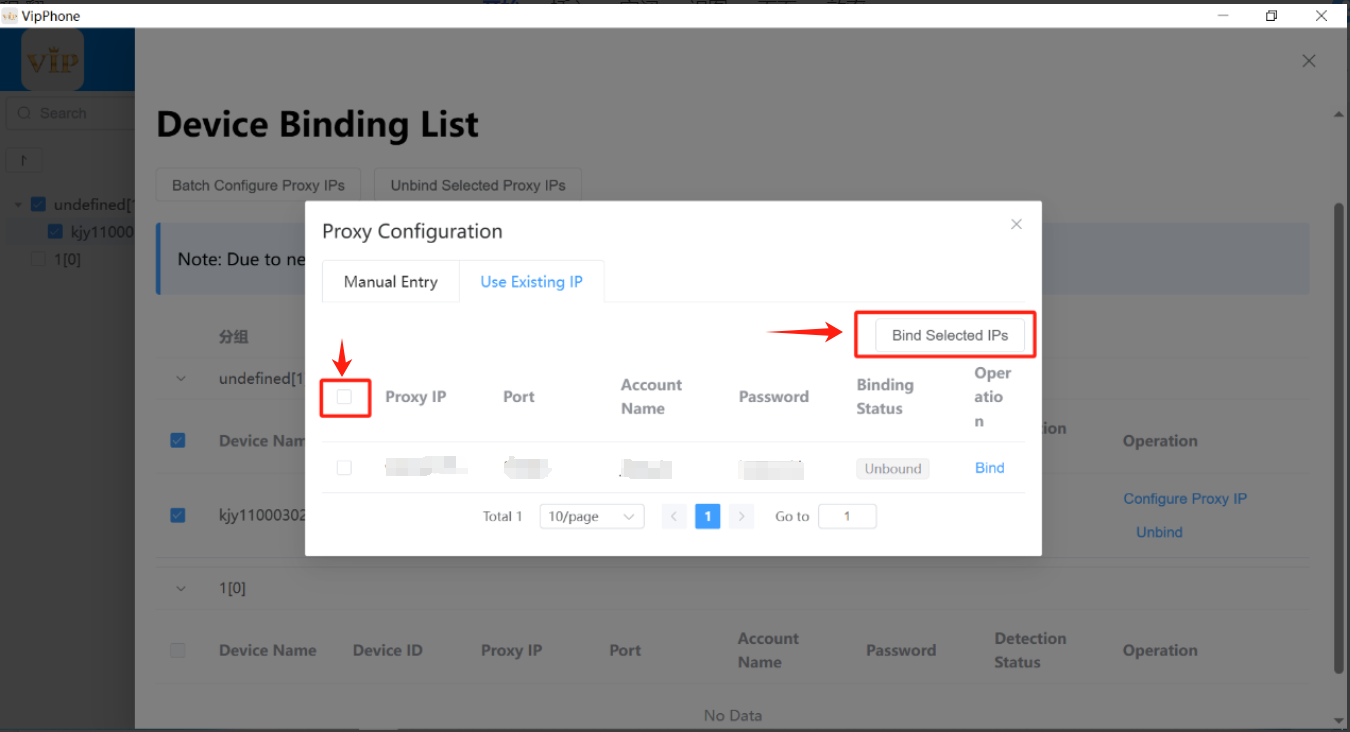
Step 5:Go to“Use Existing IP”click on the box in front of Proxy IP, and then click the“Bind Selected IPs”button.
Ps:Selecting all IPs will only choose the IPs on the current page. At the bottom of the page, you can select the number of IPs to display on the page, with a maximum of 50 displayed simultaneously. If the number of devices is greater than the number of IPs, the extra devices will all be configured with the first IP.
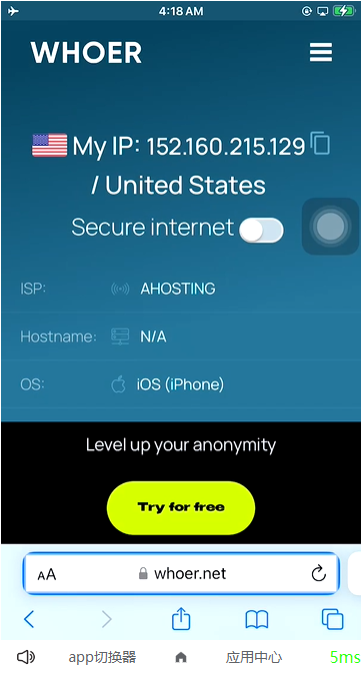
Step 6:Return to the desktop, enter the web page, and open the IP query website (such as: whoer.net). Check whether the IP has been setup.